MCL68+ MOTOROLA 68000 EMULATOR – UPDATE

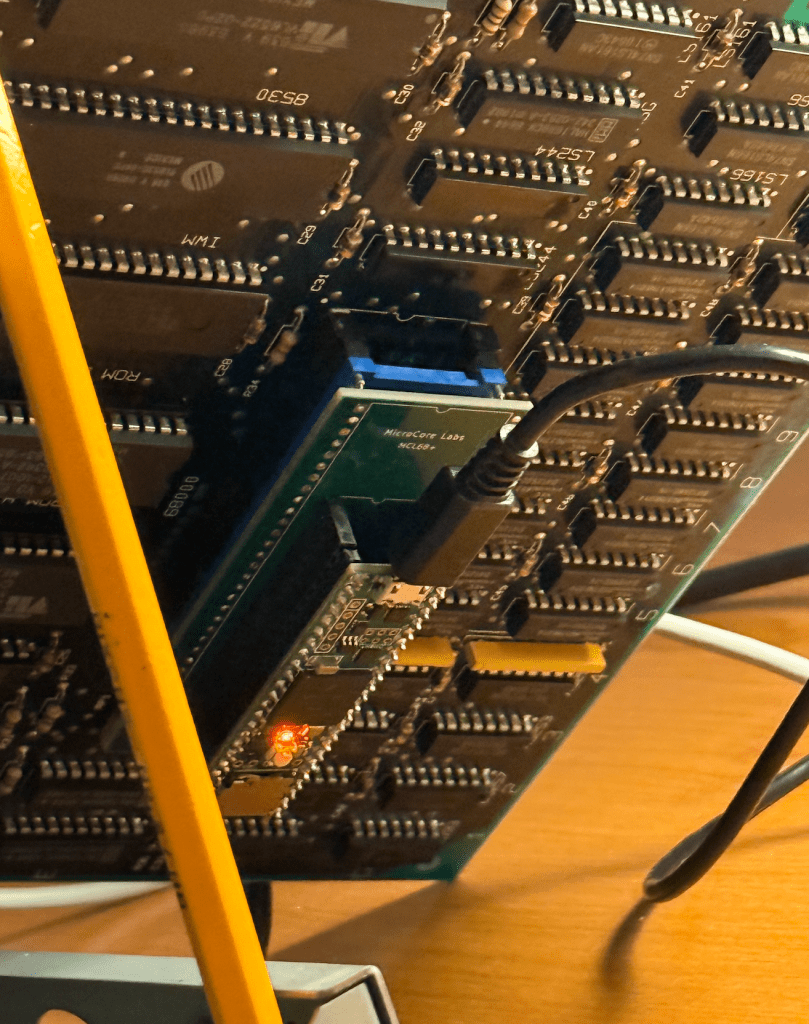
I would like to share an update for the MicroCore Labs MCL68+ project first introduced here: https://microcorelabs.com/2023/10/26/mcl68-motorola-68000-emulator-2/

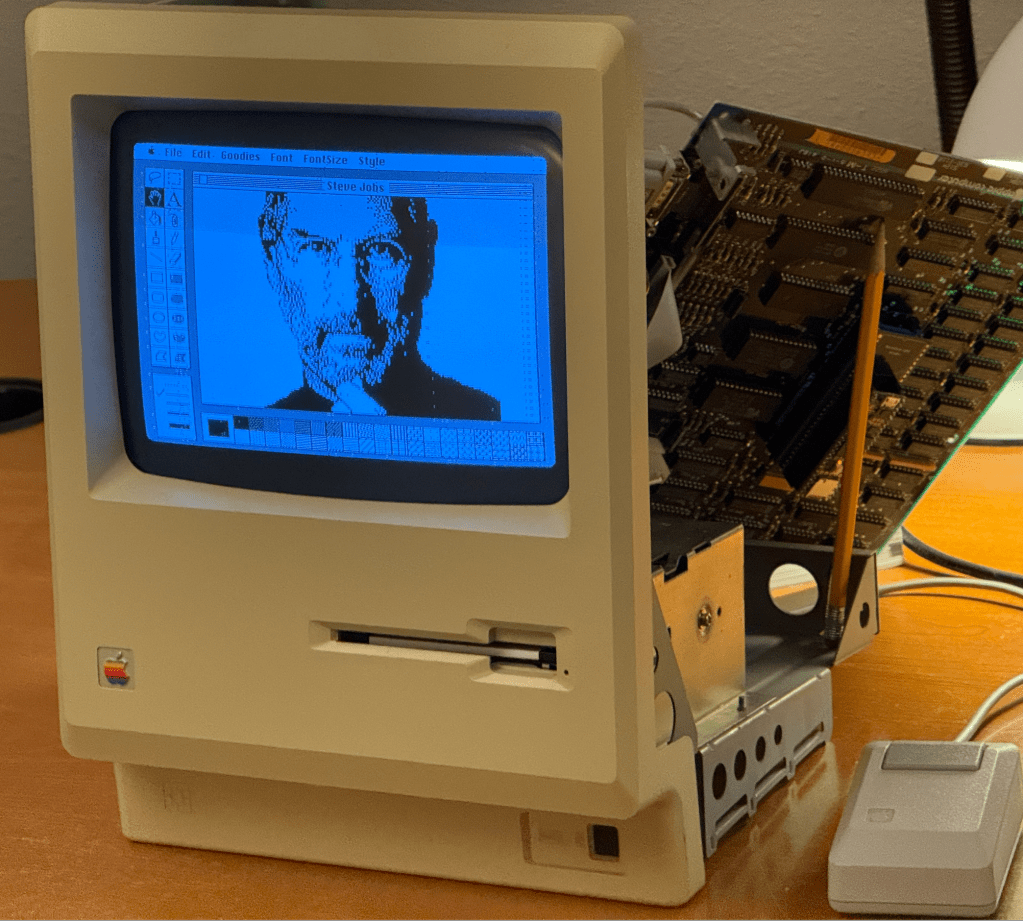
I am happy to say that it is now able to completely boot and run the Macintosh 512K!

As a winter project I thought I would pick this project back up after a two year break and see if I could make some progress. When I left off the MCL68+ was able to almost boot to the MacOS desktop but would get a fatal error.

The breakthrough was to run the MCL68+ against Tom Harte’s 68000 opcode test suite which found a number of subtle errors which were resulting in the Mac experiencing the fatal error.

The reason I did not use Tom’s test suite two years ago was because they are all written in JSON format and I lacked the skills to translate it into vectors that my code could use. I STILL lack these skills but I was able to generate the conversion code using ChatGPT. I was impressed that between my prompt and the maturity of ChatGPT it was able to generate the correct code on the first pass!

Once I had the stream of opcode before and after results I was able to plug them into the MCL68+ and see where they diverged. The errors on the MCL68+ were mainly due to incorrect effective address handling when the address for the opcode source and destination was the same register. There were a few instances of incorrect flag calculations and stack ordering as well.

I believe there were over a million tests, so I am fairly confident at this point that the MCL68+ 68000 emulation code is now mostly correct – and cycle accurate to a large degree.

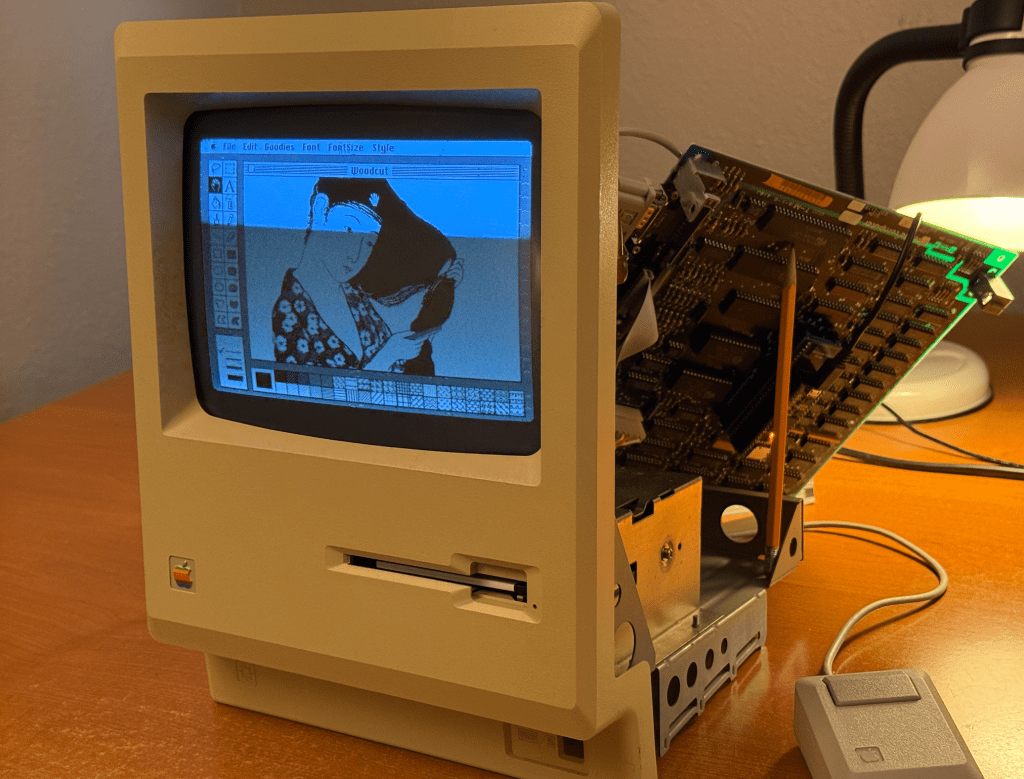
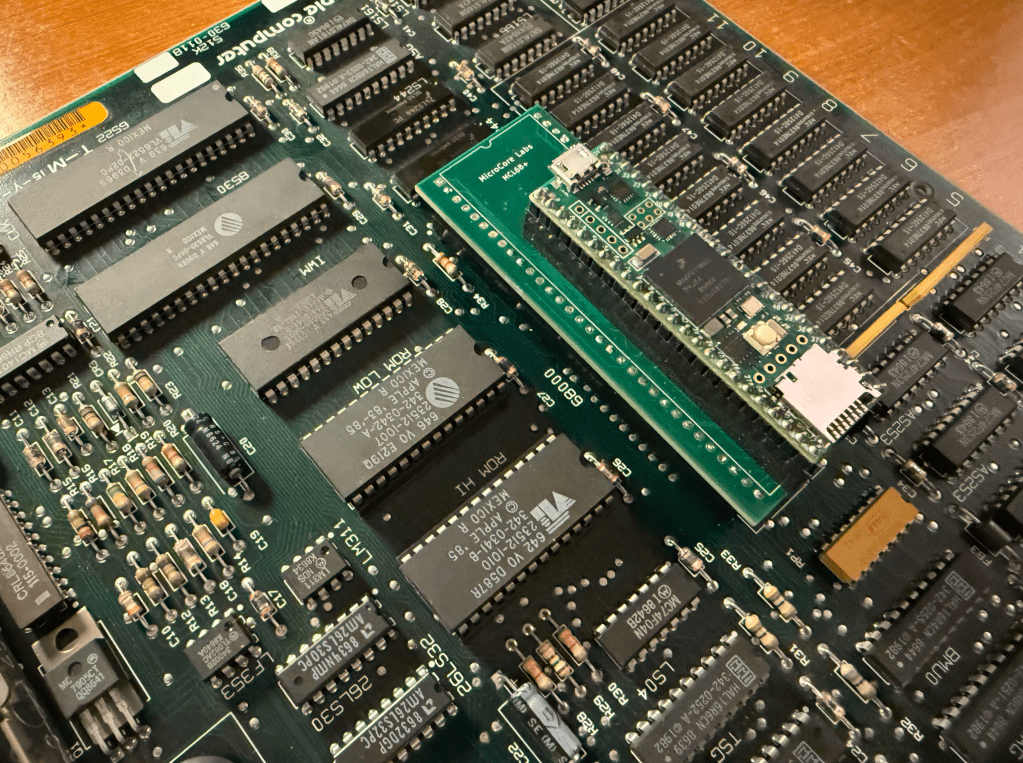
The Macintosh runs the CPU at almost 8 MHz and was a real challenge to get the Teensy 4.1 to bit-bang the local bus at that speed. I believe there are still signal integrity issues at the local bus interface so I chose to emulate the Mac’s 512K of RAM and the BIOS ROM inside of the Teensy to guarantee error-free operation. You may be able to see random dots around the screen which I believe are due to stray bus cycles writing to the video memory. These are harmless.

The updated source code is uploaded to GitHub: https://github.com/MicroCoreLabs/Projects/tree/master/MCL68%2B/code

Here is a short video demo of the MCL68+ running in a vintage Apple Macintosh 512K

You can reach me at: mailto:eastwood90@hush.com

MCL68+ MOTOROLA 68000 EMULATOR – UPDATE

MCLV20_Max / MCL86+ as a debug tool

I picked up a IBM 5150 motherboard from the Silicon Valley Electronics Flea Market a a few weekends ago which appeared to be in very good condition.

I powered it up with just the power supply, VGA card, and the speaker to see if it could POST, but unfortunately it could not. Well, I did hear the pulse from the speaker which, I believe, means at least some of the BIOS was running.

To help debug this I plugged in an MCL86+ board, or more precisely, the MCLV20_Max which shares the same hardware and got the same results as the 8088.

I then wrote a bit of simple C code to perform a series of reads and writes to the BIOS ROM and the DRAM: I read a few bytes at FFFF:0000 and did some read/writes tests of the first DRAM bank at 0000:0000.

The ROM data at FFFF:0000 looked ok – it began with 0xEA which is the long jump. But the data returned from the DRAM was 0xFF for all DRAM banks – I checked pages 00000, 10000, 20000, 30000.

This could be caused by a number of things. The first places I looked with an oscilloscope were the control and data pins of the bi-directional data buffer between the CPU and the DRAM, then I examined the RAS, CAS, and WR_n signal.

It turned out to be the WR_n signal stuck at low. Unfortunately this signal is shared with ALL 36 DRAM chips! Any of them could have been dragging this signal down or it could have been another logic chip in this path. The first step was to pull all 27 of the socketed DRAMs but the problem persisted.

The next step was to look at the logic chips that generate WR_n starting from the ones closest to the DRAMs and working my way back. I isolated the stuck net at the output of the LS04 (inverter) so I snipped the output signal and checked it with the oscilloscope to confirm I had the right chip —But unfortunately I didn’t!

The net was still low which meant there was a short in one of the soldered-on DRAM chips or a short on the PCB.

I used an ohmmeter to see where the lowest resistance was to ground. I checked each socketed DRAM and was able to find that the lowest resistance was at the Bank-1 Parity DRAM! I thought this was strange – especially since there was no IC in the socket.

I thought I had better look under the PCB – and sure enough there was a short from the Parity DRAM’s WR_n signal (Pin-3) to the ground of bypass cap C7! It was because the factory did not clip the leads to many of the IC’s on this side of the PCB so they were long enough to touch an adjacent chip when bent over.

I clipped off the long pins and that was it! My tests were then able to read and write DRAM successfully I reinstalled the rest of the DRAMs and was also able to confirm they were all working.

The MCLV20_Max/MCL86+ made this debug much easier because the IBM BIOS doesn’t give much indication of what is wrong in situations like this. I also am using a VGA card so the diagnostic ROMs will not work.

With the MCLV20_Max I was able to write, compile, load, and run simple C code tests in minutes. I was able to isolate the issue to the DRAMs very quickly.

The IBM BIOS stops accessing DRAM as soon as it sees a failure, so it stops toggling the WR_n signal very quickly. The only way to get it to toggle would have been to constantly power cycle the machine which is both slow and stressful for the motherboard.

With the MCLV20_Max I was to hard-loop my write/read tests exclusively on the DRAM which guaranteed that the RAS/CAS/WR signals were always toggling so I could measure each IC in the signal path.

Once the debug was done I loaded in the MCLV20_Max code from GitHub in which booting from the MicroSD was recently added.

A fun fearure is that I am able to pre-set the acceleration mode to maximum so that the MCLV20_Max boots with the full 640 KB of RAM and acceleration many times faster than a stock 8088 

:)

Here it is:

MCLV20_Max / MCL86+ as a debug tool